Homemade Bubble Gum
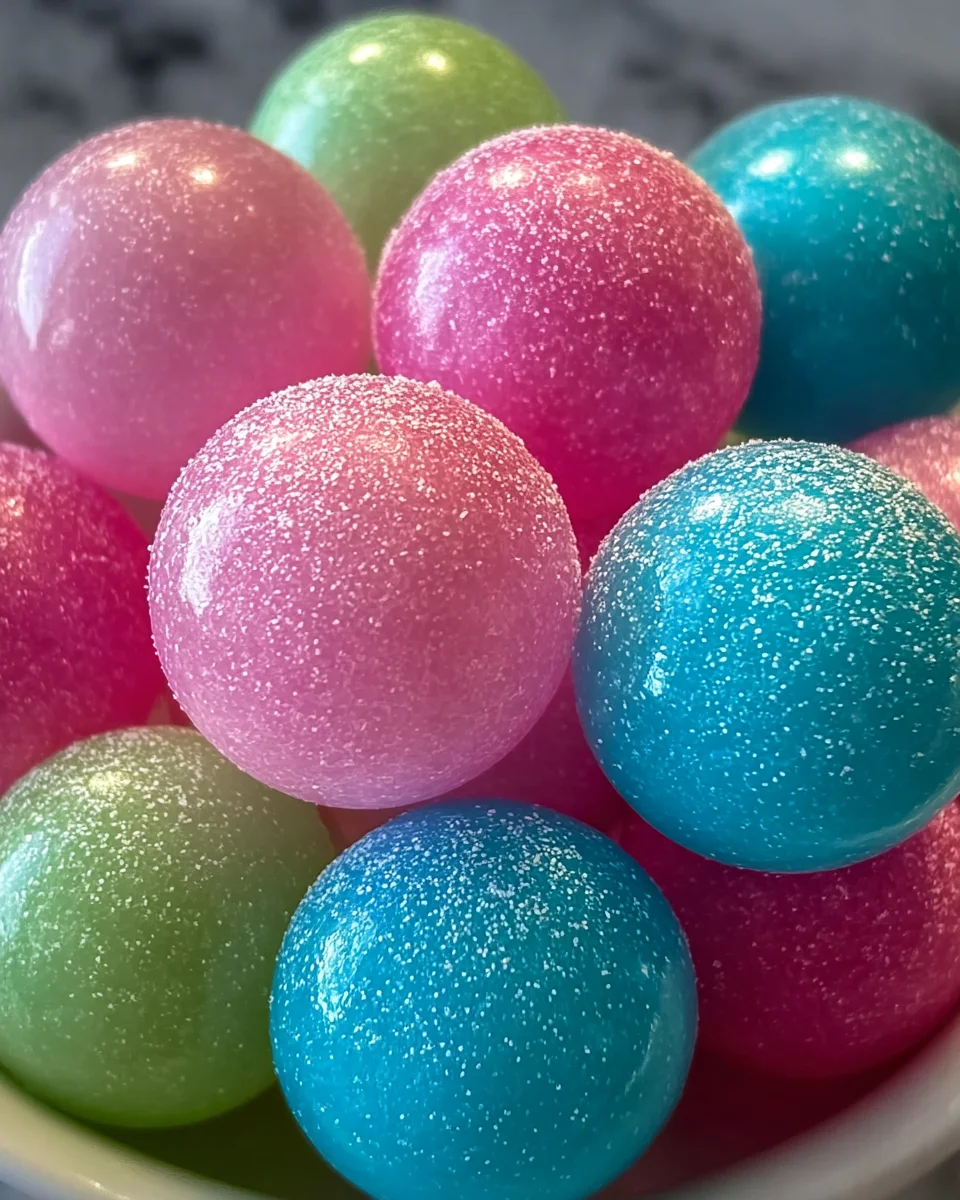
Make your own Homemade Bubble Gum that’s not just fun to chew, but also allows you to customize flavors and colors! This recipe is perfect for kids’ parties, family gatherings, or just a creative afternoon at home. With simple ingredients and easy steps, you’ll impress everyone with your candy-making skills. Dive into this delightful DIY project and enjoy your very own bubble gum creation.
Why You’ll Love This Recipe
- Customizable Flavors: Choose your favorite flavoring oils to create a unique bubble gum experience.
- Fun Activity: Perfect for kids and adults alike, making it a great bonding experience.
- Simple Ingredients: Uses easily accessible ingredients, ensuring you won’t have to hunt for anything special.
- Quick Prep Time: Ready in just 35 minutes, you can whip up a batch anytime cravings hit.
- Creative Colors: Add food coloring to match any occasion or mood, making each piece visually appealing.
Tools and Preparation
To make your Homemade Bubble Gum efficiently, gather the essential tools. Having everything ready will streamline your candy-making process.
Grab This Chef Knife Now - Almost Gone!
- Stays Razor-Sharp: Ice-hardened blade keeps its edge longer than ordinary knives
- Superior Grip Control: Unique finger hole design gives you perfect balance and safety
- Built to Last a Lifetime: Premium stainless steel blade with elegant beech wood handle
Customer Reviews ★★★★★
Essential Tools and Equipment
- Microwave
- Mixing bowl
- Spoon or spatula
- Measuring cups and spoons
- Wax paper or plastic wrap
Importance of Each Tool
- Microwave: Quickly melts the gum base, allowing for easy mixing.
- Mixing Bowl: Provides ample space to combine all ingredients without spills.
- Spoon or Spatula: Essential for stirring the mixture thoroughly and forming the gum.
Ingredients
Make your own customizable bubble gum at home using gum base and simple ingredients. Add your favorite flavors and colors.
Ingredients:
– 1/3 cup gum base
– ¼ cup corn syrup
– 3 tablespoons powdered sugar
– 3 tablespoons gum powder
– ¼ teaspoon citric acid
– Food coloring as desired
– Flavoring oil as desired
How to Make Homemade Bubble Gum
Step 1: Melt the Gum Base
- Place the gum base in a microwave-safe bowl.
- Heat in microwave in 30-second intervals until fully melted.
Step 2: Combine with Syrup
- Stir in the corn syrup until well combined with the melted gum base.
Step 3: Add Color and Flavor
- Mix in your choice of food coloring and flavoring oil, ensuring an even distribution throughout the mixture.
Step 4: Incorporate Powdered Sugar
- Gradually work in the powdered sugar, mixing until the gum is no longer sticky to touch.
Step 5: Shape Your Gum
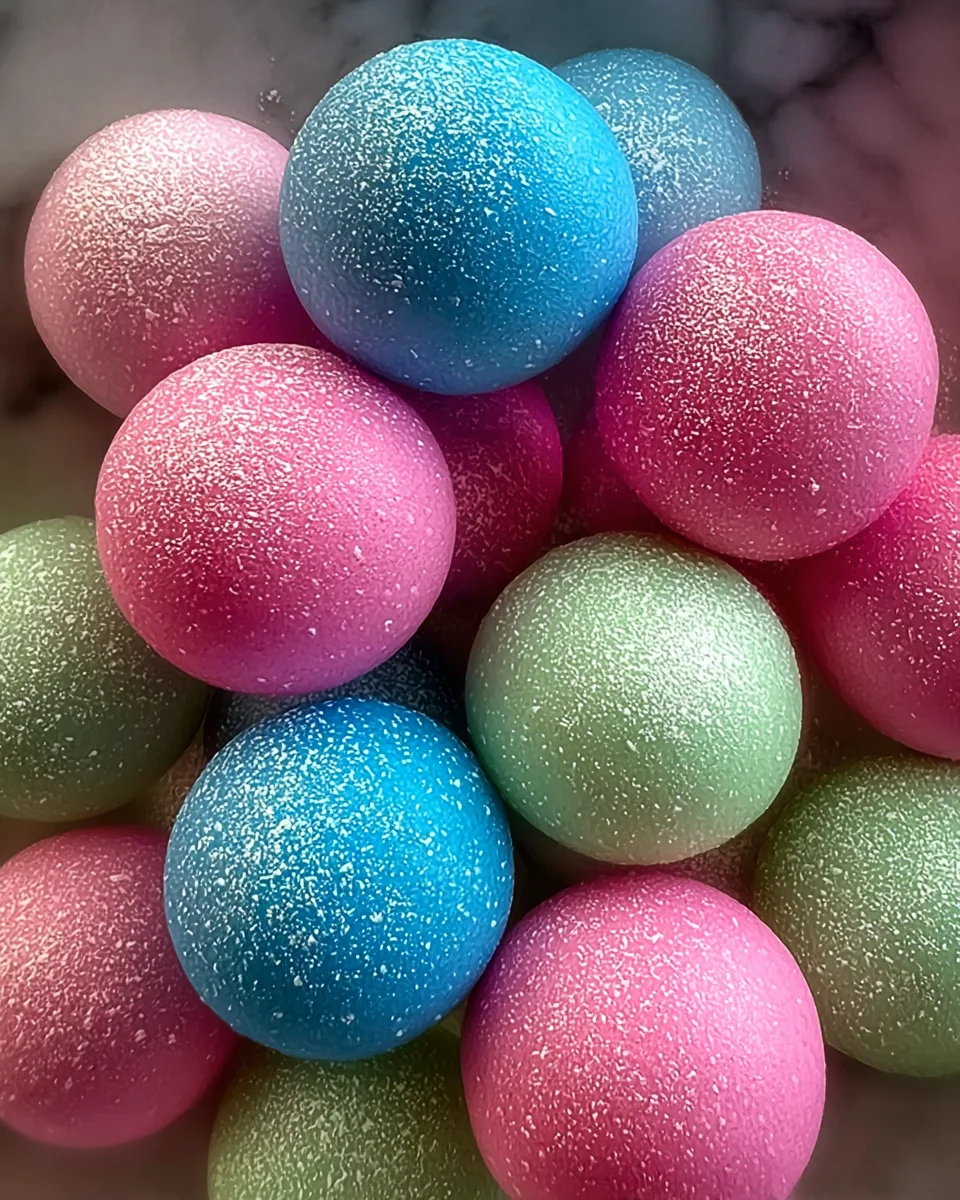
- Form the mixture into balls or strips based on your preference.
- If desired, add citric acid for a sour kick to your bubble gum.
Step 6: Let it Set
- Allow the shaped gum to sit for about 30 minutes until firm before enjoying!
With these steps complete, you’ll have homemade bubble gum that’s ready for chewing! Enjoy creating different flavors and sharing them with friends and family.
How to Serve Homemade Bubble Gum
Serving homemade bubble gum can be a fun experience for kids and adults alike. You can make it more enjoyable by pairing it with various themes or activities that complement the gum’s playful nature.
Creative Packaging
- Use colorful bags or boxes to present your bubble gum as gifts.
- Personalize each package with labels featuring the flavors inside.
Bubble Gum Party Favors
- Include pieces of homemade bubble gum in party favor bags for birthdays.
- Pair with themed stickers or small toys related to the party.
Tasty Snack Platters
- Serve bubble gum alongside sweet treats like cupcakes or cookies.
- Create a bright and colorful dessert table that attracts attention.
Fun Flavor Sampling
- Set up a tasting station where guests can try different flavor combinations.
- Encourage everyone to mix and match their favorite flavors for a unique experience.
How to Perfect Homemade Bubble Gum
To ensure your homemade bubble gum turns out perfectly every time, consider these helpful tips.
- Choose Quality Ingredients: Using high-quality gum base and flavor oils will enhance the taste and texture of your candy.
- Experiment with Flavors: Don’t hesitate to mix different flavoring oils for unique combinations that suit your taste.
- Be Mindful of Temperature: Ensure the gum base is melted properly; too hot can make it difficult to work with, while too cool may not blend well.
- Knead Thoroughly: Work the powdered sugar into the mixture until it’s no longer sticky, which helps achieve that perfect chewiness.
- Store Properly: Keep your bubble gum in an airtight container to maintain freshness and prevent it from becoming hard.
Best Side Dishes for Homemade Bubble Gum
While bubble gum is a treat on its own, pairing it with side dishes can enhance the overall snack experience. Here are some great options:
- Fruit Skewers: Colorful fruit on skewers adds a refreshing contrast to the sweetness of bubble gum. Great for parties!
- Mini Sandwiches: Prepare small sandwiches using soft bread filled with nut butter or cream cheese for a delightful savory option.
- Popcorn: Offer flavored popcorn (like caramel or cheese) as a crunchy companion to your sugary treat.
- Cheese Cubes: A platter of assorted cheese cubes can provide a savory balance to the sweetness of homemade bubble gum.
- Veggie Sticks: Crisp veggies like carrots and cucumbers can be served with hummus, creating a healthy counterpoint to sugary snacks.
- Chocolate-Covered Pretzels: The salty-sweet combination of chocolate-covered pretzels makes them an irresistible addition to any snack table.
Common Mistakes to Avoid
Making Homemade Bubble Gum can be fun and rewarding, but there are common pitfalls to watch out for.
- Skipping the Gum Base Heating: Not melting the gum base properly can lead to a gritty texture. Always heat in 30-second intervals until fully melted for a smooth consistency.
- Overloading on Flavoring: Adding too much flavoring oil may overpower the gum’s taste. Start with a few drops, then adjust according to your preference.
- Neglecting Powdered Sugar: Forgetting to incorporate powdered sugar can make your gum sticky and unmanageable. Gradually mix it in until the texture is right.
- Ignoring Citric Acid for Sourness: If you want sour gum and skip citric acid, you’ll miss out on that tangy kick. Add it in moderation to achieve your desired flavor.
- Not Allowing Enough Time to Set: Rushing the setting process leads to chewy rather than firm gum. Allow at least 30 minutes for the best results.
Storage & Reheating Instructions
Refrigerator Storage
- Store Homemade Bubble Gum in an airtight container.
- It can last up to 2 weeks in the refrigerator without losing freshness.
Freezing Homemade Bubble Gum
- Wrap pieces individually in plastic wrap before placing them in a freezer bag.
- Frozen gum can stay fresh for up to 3 months.
Reheating Homemade Bubble Gum
- Oven: Preheat to 200°F (93°C) and warm the gum for about 5 minutes. Check frequently to avoid overcooking.
- Microwave: Heat in short bursts of 10 seconds until slightly soft. Be cautious not to melt completely.
- Stovetop: Use a non-stick pan over low heat, stirring gently until soft but not melted.
Frequently Asked Questions
Here are some common questions about making Homemade Bubble Gum.
Can I use different flavors for my bubble gum?
Absolutely! You can customize your bubble gum with any flavors you like, from fruity to minty.
How long does it take to make Homemade Bubble Gum?
The total time is about 35 minutes, including prep and letting it sit to firm up.
What ingredients are essential for Homemade Bubble Gum?
The key ingredients include gum base, corn syrup, powdered sugar, and flavoring oils.
How do I make my Homemade Bubble Gum sour?
To achieve a sour taste, simply add citric acid during the mixing process until you reach your preferred level of tartness.
Can kids help make this Homemade Bubble Gum?
Yes! This recipe is perfect for kids as a fun DIY activity under adult supervision.
Final Thoughts
Making Homemade Bubble Gum is an enjoyable activity that allows for endless customization. You can experiment with flavors and colors, making each batch unique. Don’t hesitate to try this recipe at home; it’s a delightful treat that everyone will love!
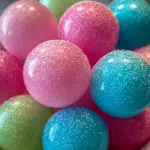
Homemade Bubble Gum
- Total Time: 35 minutes
- Yield: Approximately 10 servings 1x
Description
Create delightful Homemade Bubble Gum that’s not only fun to chew but also allows you to unleash your creativity! This easy DIY candy recipe is perfect for kids’ parties, family gatherings, or a playful afternoon at home. With simple ingredients and straightforward steps, you’ll impress friends and family with your candy-making skills. Customize flavors and colors to make each piece uniquely yours. Enjoy the deliciousness of homemade bubble gum and share the joy with your loved ones!
Ingredients
- 1/3 cup gum base
- ¼ cup corn syrup
- 3 tablespoons powdered sugar
- 3 tablespoons gum powder
- ¼ teaspoon citric acid (optional)
- Food coloring (as desired)
- Flavoring oil (as desired)
Instructions
- Melt the gum base in a microwave-safe bowl using 30-second intervals until fully melted.
- Stir in corn syrup until combined with the melted gum base.
- Mix in food coloring and flavoring oil until evenly distributed.
- Gradually incorporate powdered sugar until the mixture is no longer sticky.
- Shape the gum into balls or strips; add citric acid for a sour kick if desired.
- Let it sit for about 30 minutes to firm up before enjoying!
- Prep Time: 15 minutes
- Cook Time: 20 minutes
- Category: Dessert
- Method: Microwave
- Cuisine: American
Nutrition
- Serving Size: 10g of bubble gum
- Calories: 40
- Sugar: 7g
- Sodium: 1mg
- Fat: 0g
- Saturated Fat: 0g
- Unsaturated Fat: 0g
- Trans Fat: 0g
- Carbohydrates: 10g
- Fiber: 0g
- Protein: 0g
- Cholesterol: 0mg

